

Composting at Home: How Organic Waste Becomes Garden Gold

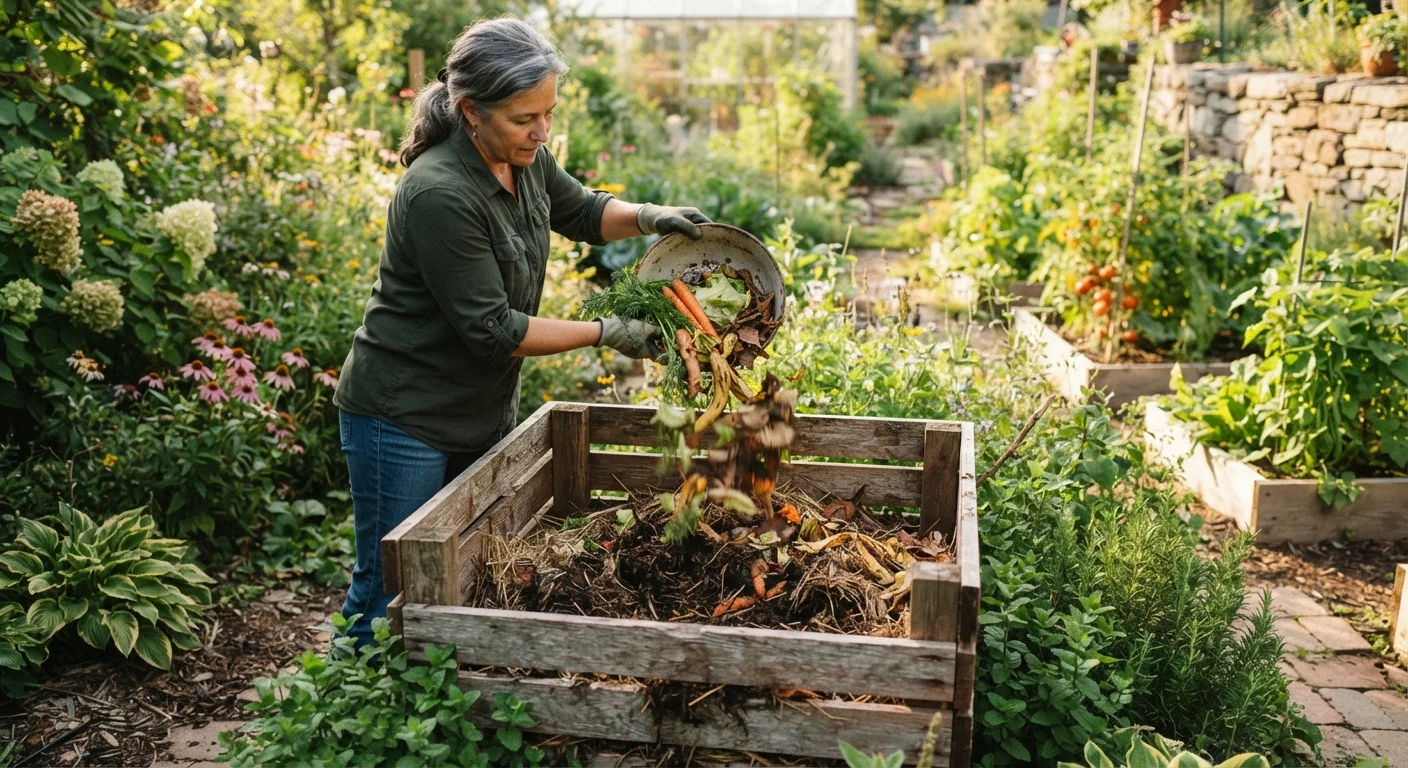
Photo: signaturehomeideas.com editorial
Key Takeaways
- Composting requires a balance of carbon-rich 'browns' and nitrogen-rich 'greens' to break down properly.
- Moisture and aeration are the two most common variables that stall or speed up decomposition.
- Finished compost improves soil structure, drainage, and nutrient availability in garden beds.
- Most kitchen and yard scraps can be composted; a few items like meat and dairy should be avoided.
- A basic pile or bin setup can produce usable compost in two to six months with regular turning.
Why composting works: the basics of decomposition
Composting is a managed version of what happens on a forest floor: microorganisms break down organic matter into stable, humus-rich material. Bacteria and fungi do most of the work. They need four things to thrive: carbon, nitrogen, moisture, and oxygen. Get those four in reasonable balance and the pile will heat up, shrink, and convert waste into something your soil can use.
The carbon-to-nitrogen ratio (C:N ratio) is the most important variable. Browns are high in carbon; greens are high in nitrogen. A pile weighted too far toward carbon has little fuel for microbial growth. A pile with too much nitrogen loses it as ammonia gas, which produces odor and wastes nutrients. The three-to-one browns-to-greens guideline by volume is a practical starting point, not a rigid formula.
Heat is a byproduct of microbial activity, and it matters. A pile that reaches 130 to 160 degrees F in its core will kill most weed seeds and common pathogens. Smaller or infrequently turned piles often stay cooler, which is still fine for general yard use, but the finished product may carry some weed seeds. Understanding how soil biology works helps connect composting to the broader goal of building a healthy garden foundation.
Speed up decomposition in cold weather
Setting up and running your compost system
Before you begin, gather your materials and tools. A pitchfork is the one piece of equipment you cannot skip: turning by hand is slow and ineffective.
What you will need
Compost bin or wire enclosure
Contains the pile, retains heat, and keeps out pests during decomposition.
Pitchfork or compost aerator
Turns and aerates the pile to speed up breakdown and prevent odor.
Garden thermometer
Measures internal pile temperature to confirm active decomposition (ideally 130-160 F).
Watering can or hose with gentle spray
Adds moisture to dry sections of the pile without waterlogging it.
Choose and prepare your compost site
Pick a level spot with partial shade and good drainage. Full sun dries the pile too quickly; deep shade slows decomposition. Position the site at least 10 feet from the house and away from wooden fences to prevent moisture damage. If you use a bin, assemble it now. A simple three-sided wood frame, a wire cylinder, or a purchased plastic bin all work. The minimum workable size is roughly 3 feet wide by 3 feet deep by 3 feet tall, which holds enough mass to generate the internal heat that drives decomposition.
Collect and sort your materials
Compost needs two categories of material:
- Browns (carbon-rich): dry leaves, cardboard torn into pieces, paper bags, straw, wood chips, paper egg cartons.
- Greens (nitrogen-rich): vegetable and fruit scraps, coffee grounds, tea bags, fresh grass clippings, plant trimmings.
A rough ratio of three parts browns to one part greens by volume keeps the pile balanced. Too many greens and the pile turns slimy and smells; too many browns and decomposition stalls.
Do not add meat, fish, bones, dairy products, oily cooked foods, diseased plants, or pet waste. These either attract pests or introduce pathogens that a backyard pile may not fully neutralize.
Build the initial pile
Start with a 3- to 4-inch layer of coarse browns at the base. This layer lets air circulate under the pile. Add a 2-inch layer of greens on top, then cover with another layer of browns. Repeat the layering until the pile reaches at least 3 feet tall, which helps it retain heat. Water each layer as you go until the material feels like a wrung-out sponge: damp throughout but not dripping. Finish the top with a layer of browns to reduce odor and discourage flies.
Maintain moisture and aeration
Check the pile every week. Push your hand or a stick into the center: it should feel warm and moist. If it is dry, water it thoroughly. If it smells like ammonia, add more browns and turn the pile. If it smells like rotten eggs, the pile is too wet and compacted. Turn it and add dry browns to restore airflow.
Turn the pile every one to two weeks using a pitchfork. Move material from the outer edges into the center, where temperatures are highest. Consistent turning can cut decomposition time by half.
Recognize finished compost and harvest it
Finished compost is dark brown, crumbly, and smells like damp earth. You should not be able to identify the original materials. The pile will have shrunk to roughly half its original volume. This process typically takes two to six months depending on temperature, materials used, and how often you turn the pile.
To harvest, stop adding new material and let the pile cure for two to four weeks. Then fork the finished compost into a wheelbarrow or garden cart. Any unfinished chunks can go back into a new pile.
Apply compost to your garden
Spread 1 to 3 inches of finished compost over garden beds and work it into the top 6 inches of soil before planting. For established beds, apply it as a top dressing and let rain and earthworms incorporate it over time. Compost improves sandy soils by increasing water retention and loosens compacted clay soils by adding organic matter that separates soil particles. For container gardens, blend compost with potting mix at a ratio of about one part compost to three parts mix. See our container gardening guide for specific soil mix guidance by plant type.
This article is for general informational and educational purposes. Results vary based on climate, materials, and local conditions. Check local regulations regarding composting setups, particularly in urban or HOA-managed properties.
The content provided on our blog site traverses numerous categories, offering readers valuable and practical information. Readers can use the editorial team’s research and data to gain more insights into their topics of interest. However, they are requested not to treat the articles as conclusive. The website team cannot be held responsible for differences in data or inaccuracies found across other platforms. Please also note that the site might also miss out on various schemes and offers available that the readers may find more beneficial than the ones we cover.