

Painting Kitchen Cabinets Without the Finish Peeling Off

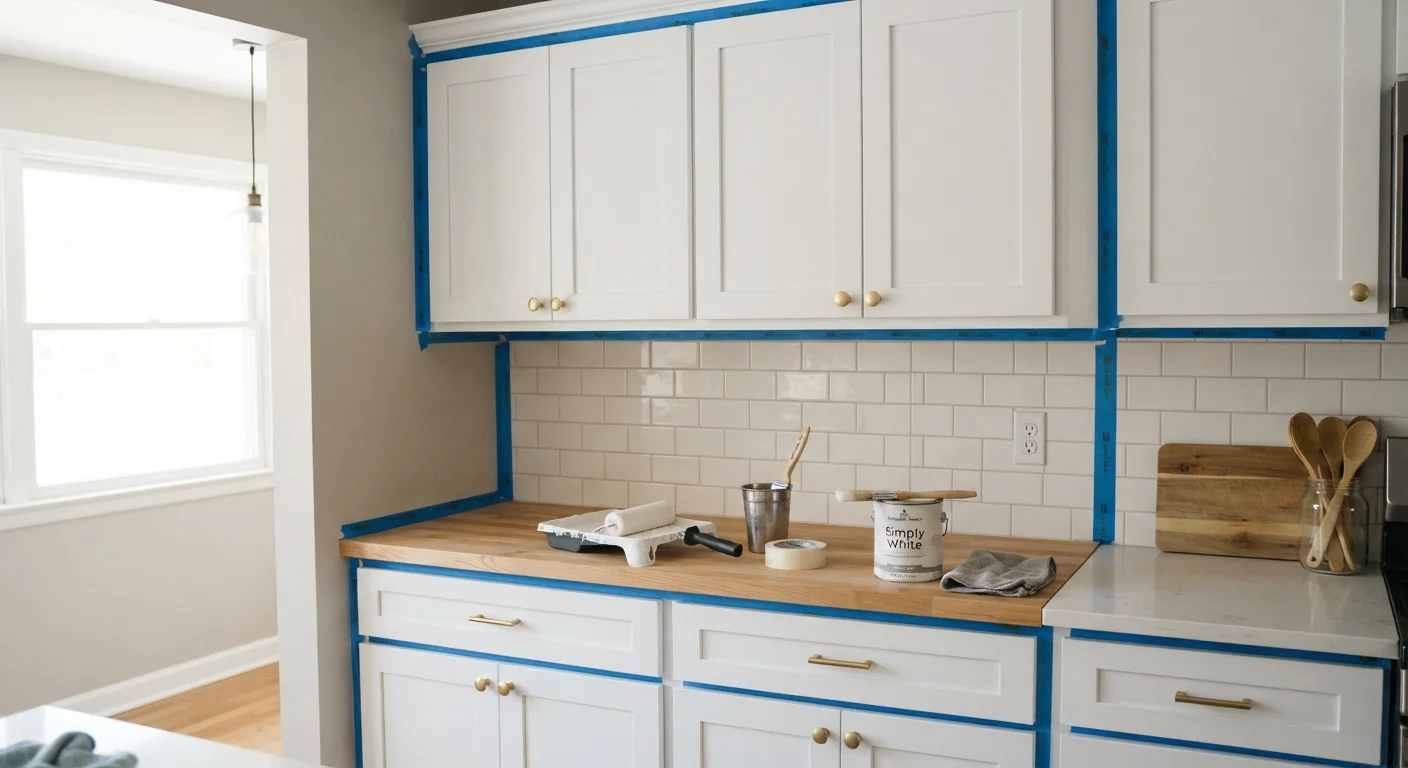
Photo: signaturehomeideas.com editorial
Key Takeaways
- Cleaning and deglossing cabinet surfaces before painting is the most important step for adhesion.
- A bonding primer formulated for slick surfaces prevents peeling far better than standard wall primer.
- Alkyd or waterborne alkyd paints hold up better in kitchens than standard latex wall paint.
- Thin coats with adequate dry time between them reduce the risk of sagging, bubbling, and eventual peeling.
- Cabinets need several days to fully cure before they can handle regular use without damage.
Why cabinet paint fails, and how to prevent it
Peeling paint on kitchen cabinets almost always traces back to one of two causes: inadequate surface preparation or the wrong paint product. Cabinet surfaces are often coated with factory lacquer or conversion varnish, both of which are dense, non-porous finishes. Standard latex wall paint does not grip these surfaces reliably. Add the heat, humidity, and grease exposure of a kitchen, and a poorly prepared paint job can start lifting within months.
Painting cabinets is a workable DIY project for someone comfortable with basic prep work and patient enough to follow a multi-day process. If you are weighing whether to paint at all versus a more involved update, cabinet refacing vs. replacement covers when each option makes more sense.
The steps below follow the same prep logic used for any slick, previously finished surface. The techniques overlap with refinishing old furniture, since factory-coated wood in both cases needs bonding primer and a hard topcoat to hold up.
What you will need
Tools and materials
Cabinet painting does not require specialized equipment, but it does require the right materials. Using standard wall paint and a basic primer is the most common way a DIY cabinet job ends up peeling. The tool list below covers what you need for a wood or MDF cabinet with an existing factory or painted finish.
TSP substitute cleaner or degreaser
Removes grease, cooking residue, and film from cabinet surfaces so primer can bond properly.
120- and 220-grit sandpaper
Scuffs the existing finish to improve adhesion and smooths between coats.
Bonding primer
Creates a stable base coat on slick or previously finished surfaces so topcoat paint does not peel.
Alkyd or waterborne alkyd cabinet paint
Provides a hard, washable finish suited to the humidity and grease exposure in kitchens.
Foam mini roller (4-inch)
Applies thin, smooth coats on flat cabinet faces with minimal texture.
Angled sash brush (2-inch)
Cuts in around edges, inside frames, and on door profiles where a roller cannot reach.
Painter's tape
Masks hinges, hardware holes, and adjacent walls to keep lines clean.
Screwdriver and labeled bags
Removes doors and hardware and keeps screws organized for reassembly.
Step-by-step instructions
Remove doors, drawers, and all hardware
Take every door and drawer front off the cabinet boxes. Place screws, hinges, and pulls in labeled zip-lock bags so reassembly is straightforward. Painting doors flat on a work surface (sawhorses work well) prevents drips and gives you better brush control than painting them in place.
Degrease every surface thoroughly
Kitchen cabinets accumulate cooking grease that is invisible but will prevent paint from bonding. Wipe all surfaces with a TSP substitute (trisodium phosphate substitute) or a dedicated kitchen degreaser, following the product instructions. Rinse with clean water and let the wood dry completely, at least a few hours, before moving on.
Sand to scuff the existing finish
Sand all surfaces with 120-grit sandpaper to break the sheen on the existing finish. You are not stripping the cabinet; you are giving the primer a surface it can grip. Wipe away all dust with a tack cloth or a damp rag, then let the surface dry again.
Apply a bonding primer
Use a primer labeled as a bonding primer or shellac-based primer, not standard drywall primer. These products are formulated to stick to slick, previously painted, or laminate surfaces. Apply one thin, even coat to the boxes and door fronts. Let it dry fully according to the manufacturer's instructions, then lightly sand with 220-grit sandpaper and remove dust again before painting.
Apply the first topcoat in thin passes
Use an alkyd or waterborne alkyd paint labeled for cabinets, trim, or furniture. These dry to a harder film than wall paint and can handle wiping down without wearing through. Apply the first coat thinly: a foam roller on flat faces and an angled brush on frames and profiles. Thin coats level better and dry more evenly than thick ones.
Sand lightly, then apply a second coat
Once the first coat is fully dry (not just touch-dry), sand lightly with 220-grit sandpaper. This knocks down any raised grain or texture and helps the second coat bond to the first. Remove all dust, then apply a second thin coat. Most cabinet paint jobs look best with two full coats over the bonding primer.
Allow full cure time before reinstalling
Paint can feel dry to the touch within hours but takes days to fully harden (cure). Alkyd paints generally reach a working hardness within 7 days. During this period, avoid stacking doors, pressing items against painted surfaces, or scrubbing. Reinstall hardware and hang doors only after the paint has cured, or you risk scratching and denting the finish before it has reached its final durability.
Ventilation and fume safety
Getting the smoothest possible finish
Brush marks are a common complaint with DIY cabinet painting. A foam roller on flat surfaces leaves far less texture than a standard nap roller or a brush. For the flattest result, some homeowners use a small airless spray gun, which produces a factory-like surface but requires masking the entire kitchen and more cleanup time.
Temperature and humidity affect how paint levels and dries. Painting in a space below 50 degrees Fahrenheit or above 90 degrees can cause adhesion problems and uneven sheen. Aim for moderate conditions and good airflow without direct wind on wet surfaces, which causes the paint to skin over before it can level.
Once the cabinets are back in service, clean them with a soft cloth and mild dish soap. Avoid abrasive scrubbers or solvent-based cleaners, which can wear through even a well-cured finish over time.
Test a door before committing
The content provided on our blog site traverses numerous categories, offering readers valuable and practical information. Readers can use the editorial team’s research and data to gain more insights into their topics of interest. However, they are requested not to treat the articles as conclusive. The website team cannot be held responsible for differences in data or inaccuracies found across other platforms. Please also note that the site might also miss out on various schemes and offers available that the readers may find more beneficial than the ones we cover.