

Tile Backsplash Installation: A First-Timer's Complete Walkthrough

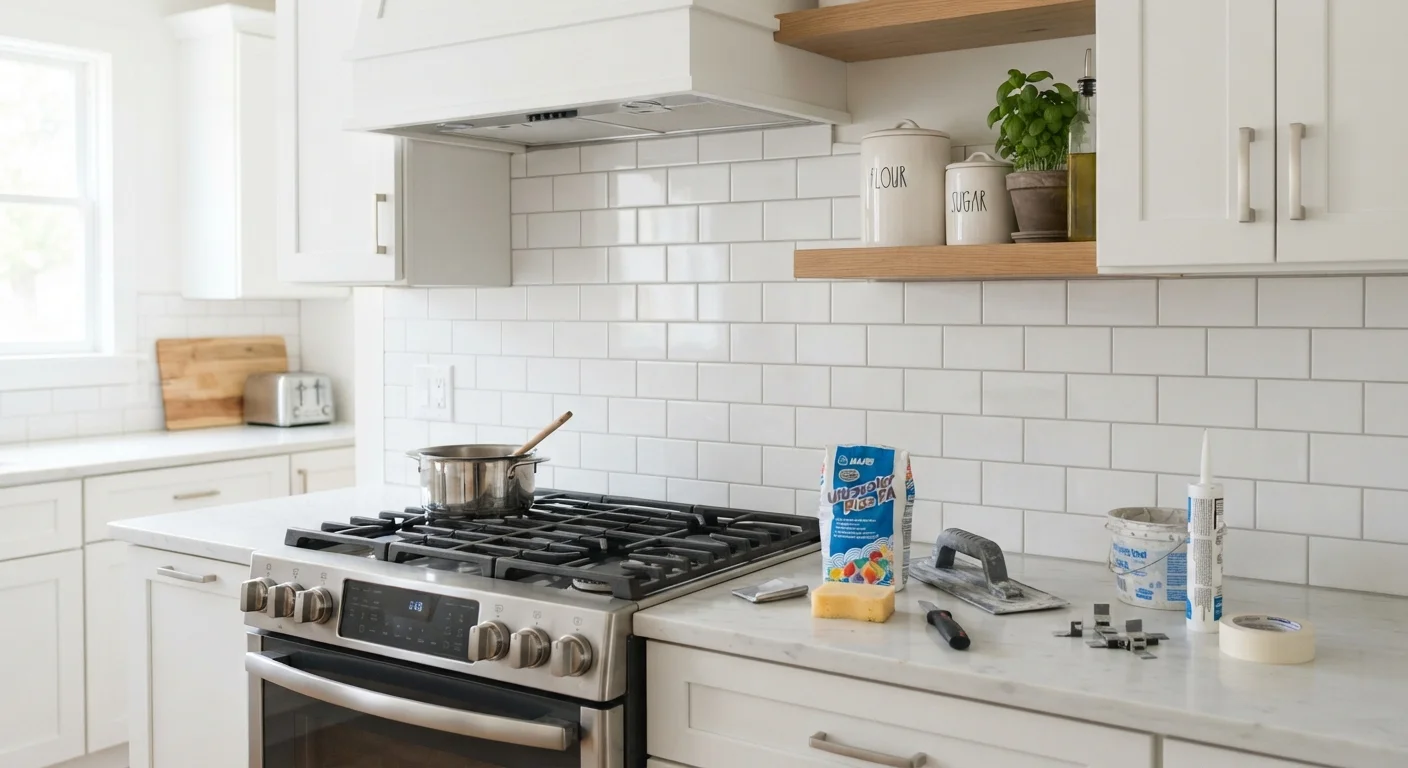
Photo: signaturehomeideas.com editorial
Key Takeaways
- Most backsplash installations do not require a permit, but always verify with your local building department.
- Dry-laying your tile before applying any adhesive prevents costly layout mistakes.
- Thinset mortar is the correct adhesive for tile; mastic can work on drywall but is not suitable in wet areas.
- Grout needs a full 24 to 48 hours to cure before you use the area normally.
- Cutting outlets into tile precisely requires a wet saw or an angle grinder with a tile blade.
What to know before you start
A tile backsplash sits between your countertop and upper cabinets, typically covering 15 to 30 square feet depending on kitchen size. The work involves spreading adhesive, pressing tile, and filling joints with grout. None of those steps requires advanced skills, but each one requires patience and accuracy.
Most backsplash projects in a kitchen do not require a building permit, because they are cosmetic and do not involve structural, plumbing, or electrical changes. You will, however, need to remove outlet covers and work around electrical boxes. Always turn off the relevant circuit at the breaker panel before doing so. If your project is part of a larger kitchen remodel, the kitchen renovation planning guide covers permit requirements and sequencing decisions that affect tile work.
Turn off power at the breaker first
Tools and materials you will need
Gather everything before you start. Running to the hardware store mid-project while thinset is drying creates problems.
Thinset mortar
A cement-based adhesive mixed with water (or a polymer additive) that bonds tile permanently to a wall surface. It is the standard adhesive for most tile installations.
Grout
A cement or epoxy filler pressed into the gaps between tiles after the adhesive cures. It seals the joints and gives the finished surface a uniform look.
Notched trowel
A hand tool with a serrated edge used to spread thinset in ridged lines, which helps the tile bond evenly without air pockets.
Tile spacers
Small plastic crosses placed between tiles during installation to maintain consistent gap widths before the adhesive sets.
Back-buttering
Applying a thin layer of thinset directly to the back of a tile in addition to the wall. It improves adhesion, especially for larger or heavier tiles.
Substrate
The surface you are tiling onto, such as drywall, cement backer board, or existing tile. The substrate must be flat, clean, and structurally sound for tiles to stick reliably.
- Wet tile saw or manual tile cutter
- Notched trowel (3/16 inch V-notch for standard subway tile)
- Grout float
- Tile spacers (1/8 inch is common for subway tile)
- Level and tape measure
- Sponge and bucket
- Tile, plus 10 percent extra for cuts and breakage
- Thinset mortar
- Grout (sanded or unsanded, matched to your joint width)
- Grout sealer
- Painter's tape and plastic sheeting to protect countertops
Buy tile in one batch. Tiles from different production runs can vary slightly in shade, and that variation is visible once installed.
Planning your layout
Good layout planning prevents the most common beginner mistake: ending up with a thin sliver of tile at a visible edge. Find the horizontal center of your backsplash area and mark a vertical line with a pencil and level. This becomes your starting point.
Dry-lay before you commit
For a standard horizontal brick pattern, start the first full tile at the center line on the countertop and work outward in both directions. For a vertical stack pattern, the same principle applies. Measure twice before cutting: tile saw cuts cannot be undone.
Mark your outlet and switch positions on paper before you set a single tile. Tiles that straddle an outlet need precise notches, and planning this in advance tells you whether a tile joint can fall along the outlet box edge, which makes cutting simpler.
Setting the tile
Protect the countertop with painter's tape along the top edge and plastic sheeting over the surface. Mix thinset to a peanut butter consistency: it should hold a ridge from the trowel without slumping.
Spread thinset on a small section of wall (roughly 2 square feet at a time) using the flat side of the notched trowel, then comb it into ridges with the notched side. Press each tile firmly into place with a slight twist to collapse the ridges and improve contact. Insert spacers at each corner as you go.
Back-butter tiles that are larger than 4 inches square: apply a thin skim coat of thinset to the tile back before pressing it to the wall. Check your work with a level every few tiles. Thinset takes about 24 hours to cure; do not grout before it does.
Grouting and finishing
Remove tile spacers before grouting. Mix grout according to the package directions until it reaches a thick, lump-free consistency. Apply it diagonally across the tile surface with a rubber grout float, pressing firmly to pack the joints. Work in sections of about 4 square feet.
Grout color changes as it dries
After 10 to 15 minutes, wipe the tile faces with a damp (not soaking) sponge in a circular motion to remove grout haze. Rinse the sponge frequently. A second pass with a barely damp sponge after another 10 minutes removes remaining residue. Buff with a dry cloth once the surface is clean.
Allow grout to cure for 48 to 72 hours before applying grout sealer. Sealer reduces staining from cooking grease and moisture. Apply it with a small brush along each joint, wipe away any excess from the tile face, and let it dry completely before restoring the outlets and using the kitchen normally.
This article is for informational purposes only. Always verify local code requirements and consult a licensed professional for any work involving electrical systems.
Frequently Asked Questions
The content provided on our blog site traverses numerous categories, offering readers valuable and practical information. Readers can use the editorial team’s research and data to gain more insights into their topics of interest. However, they are requested not to treat the articles as conclusive. The website team cannot be held responsible for differences in data or inaccuracies found across other platforms. Please also note that the site might also miss out on various schemes and offers available that the readers may find more beneficial than the ones we cover.