

Installing a Dimmer Switch: What Homeowners Need to Know Before Starting

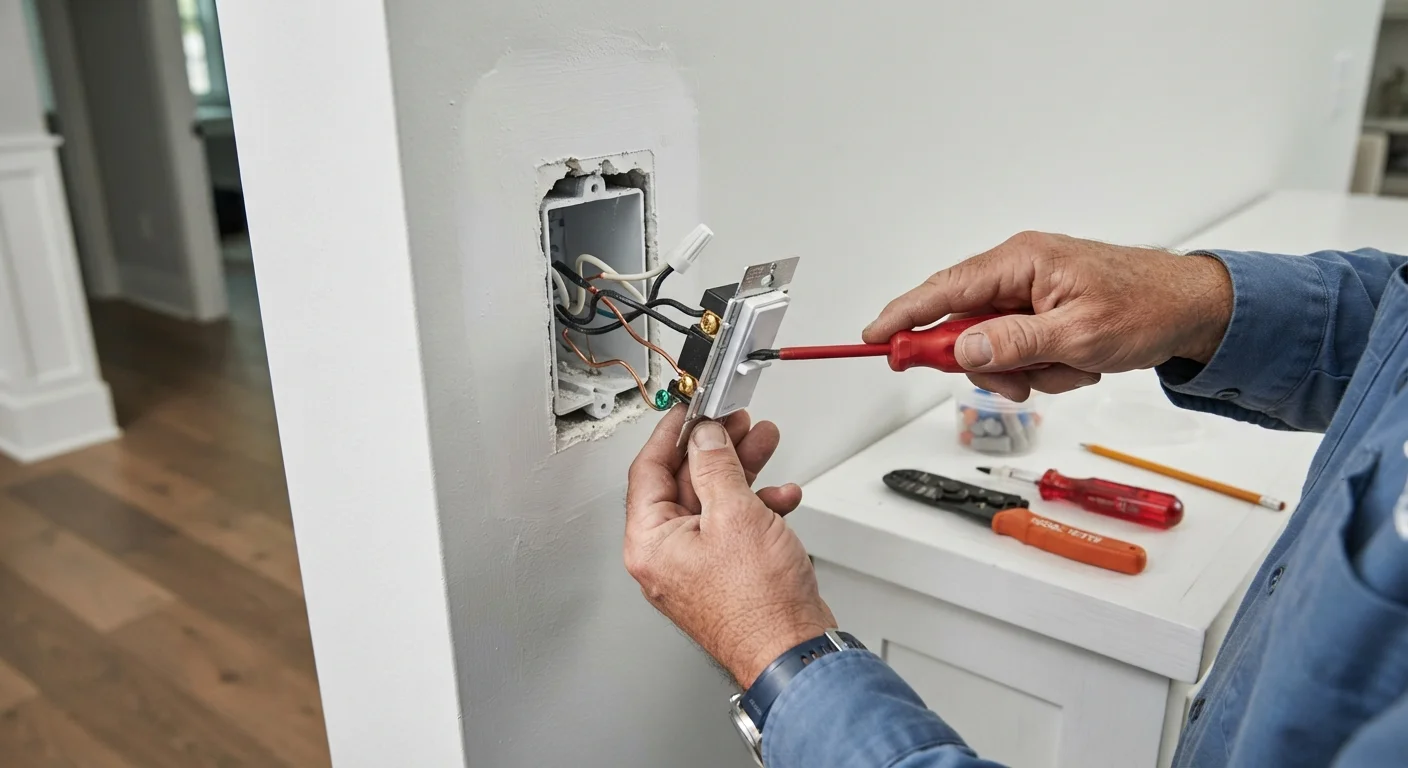
Photo: signaturehomeideas.com editorial
Key Takeaways
- Not all bulbs are dimmable: check the bulb packaging before purchasing a dimmer switch.
- You must match the dimmer's load rating to the total wattage of the fixtures it will control.
- Always turn off the circuit breaker and verify power is off with a voltage tester before touching any wires.
- Three-way switch setups (controlling one fixture from two locations) require a dimmer rated for that configuration.
- Some jurisdictions require a permit for switch replacement work; verify local electrical codes before starting.
- If your wiring is aluminum, knob-and-tube, or unfamiliar, contact a licensed electrician.
Understanding compatibility before you buy
The most common reason a dimmer switch fails to work properly is a mismatch between the switch and the bulbs it controls. Standard incandescent bulbs dim reliably on nearly any dimmer. LED and CFL bulbs are a different matter. Many are not dimmable at all, and those that are may flicker or buzz if paired with the wrong switch. Check the bulb packaging for a dimmable label before assuming compatibility. Common lighting myths debunked covers why the assumption that all LEDs dim is one of the more costly mistakes homeowners make.
Beyond bulb type, you need to match the dimmer's load rating to the combined wattage of the fixtures it will control. A dimmer rated for 150 watts will not safely handle four 60-watt bulbs. Calculate total fixture wattage, then choose a switch with a rating above that figure, with some headroom.
Switch configuration also matters. A single-pole dimmer works when one switch controls the fixture. If two switches share control of the same light (called a three-way circuit), you need a dimmer explicitly rated for three-way use, and the second switch must be a compatible three-way model, not a standard toggle.
How to install a dimmer switch
The steps below apply to a standard single-pole replacement in a circuit with copper wiring and a neutral wire present. If your home has aluminum wiring, older knob-and-tube wiring, or wiring you cannot identify with confidence, stop and consult a licensed electrician. Working on live circuits is dangerous. The steps below assume you will confirm the power is fully off before touching any wire.
Some municipalities treat switch replacement as electrical work requiring a permit or inspection. Check with your local building department before starting. This is especially common in older homes or when adding a dimmer where one did not previously exist.
Turn off the circuit breaker
Go to your electrical panel and switch off the breaker controlling the room where you are working. Label it if the panel is not already marked clearly. Do not rely on the light switch itself to cut power.
Verify the power is off
Use a non-contact voltage tester at the wall box before touching any wire. Hold the tester near each wire. If it signals voltage, the circuit is still live. Do not proceed until the tester reads no voltage on every wire in the box.
Remove the existing switch
Unscrew the cover plate, then remove the screws holding the switch to the wall box. Gently pull the switch forward. Note which wire connects to which terminal before disconnecting anything. Taking a photo with your phone is a reliable way to record the configuration.
Identify the wires
In most residential installations you will find a black (hot) wire, a white (neutral) wire, and a bare copper or green (ground) wire. Some dimmers also require the neutral connection. Confirm the wire colors match your dimmer's instructions. If anything looks unusual, stop and contact a licensed electrician.
Connect and seat the dimmer
Connect each wire to the corresponding terminal on the new dimmer switch following the manufacturer's wiring diagram. Tighten screw terminals securely or use the push-in connectors if provided. Gently fold the wires into the box, then screw the dimmer into place. Attach the cover plate.
Restore power and test
Turn the circuit breaker back on. Test the dimmer across its full range: from the lowest dim setting to full brightness. If the light flickers at low settings, buzzes, or does not dim smoothly, check that the bulbs are rated as dimmable and compatible with the switch type you installed.
This article provides general educational information about dimmer switch installation. Electrical work carries risk of shock, fire, and code violations. When in doubt, hire a licensed electrician. Always verify local permit requirements before performing electrical work in your home.
When the job should go to a licensed electrician
Certain conditions move this task outside reasonable DIY territory. If you open the wall box and find more than three wires with no clear labeling, or wires that are brittle, discolored, or wrapped in cloth insulation (a sign of older wiring), do not proceed. Those conditions suggest wiring that may not meet current safety standards.
A box that is already overcrowded with wires can make safe installation difficult. Dimmer switches are physically larger than standard toggles, and some wall boxes do not have enough depth. Forcing a dimmer into a crowded box can damage insulation on adjacent wires.
For smart dimmer switches, which communicate over Wi-Fi or other wireless protocols, wiring requirements are often stricter. Many require a neutral wire that older homes lack. Smart lighting systems: what they can and cannot do explains the wiring and compatibility constraints these devices introduce before you commit to a purchase.
If any of these conditions apply, or if you are simply not comfortable working with electrical wiring, a licensed electrician can complete the swap in under an hour. The cost is modest compared to the risk of a wiring error.
The content provided on our blog site traverses numerous categories, offering readers valuable and practical information. Readers can use the editorial team’s research and data to gain more insights into their topics of interest. However, they are requested not to treat the articles as conclusive. The website team cannot be held responsible for differences in data or inaccuracies found across other platforms. Please also note that the site might also miss out on various schemes and offers available that the readers may find more beneficial than the ones we cover.