

Recessed Lighting vs. Surface-Mounted Fixtures: Choosing the Right Fit for Your Ceiling

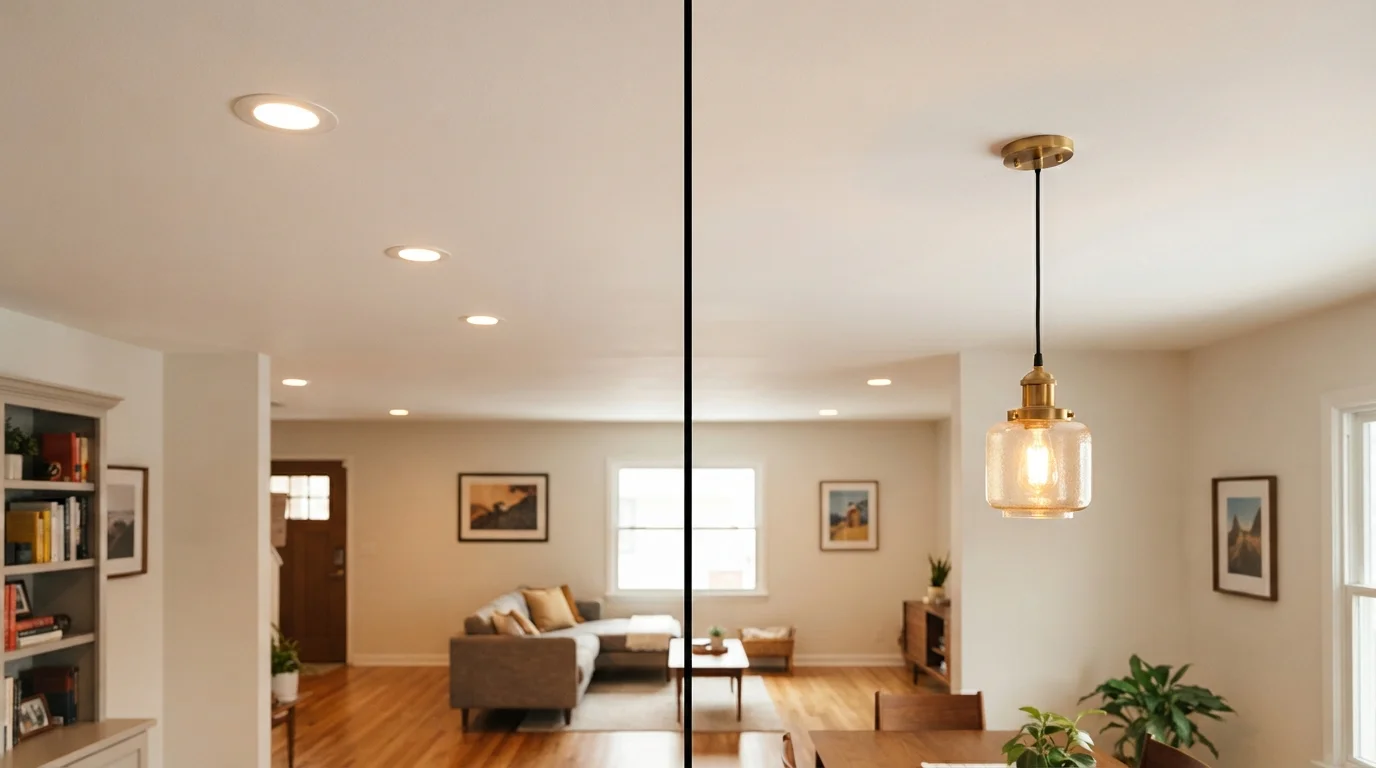
Photo: signaturehomeideas.com editorial
Key Takeaways
- Recessed lighting requires at least 5 to 6 inches of ceiling cavity depth for standard housings.
- Surface-mounted fixtures can replace an existing ceiling box with no new wiring or structural work.
- Neither type is inherently brighter; output depends on bulb choice and fixture count.
- Adding recessed cans to a finished ceiling almost always requires an electrician and may need a permit.
- Surface-mounted fixtures come in styles that range from nearly invisible flush mounts to decorative pendants.
- Layering both types in a single room is a legitimate and common approach.
What each type actually is
Recessed lighting (also called can lights or downlights) sits inside the ceiling cavity. The housing mounts between joists above the drywall, and only a small trim ring and the bulb face are visible from below. Standard housings need roughly 5 to 6 inches of vertical clearance above the ceiling surface, though shallow housings designed for tight spaces can fit in about 3.5 inches.
Surface-mounted fixtures attach directly to the ceiling surface and hang from a standard electrical box. The category covers flush mounts (where the fixture sits flat against the ceiling), semi-flush mounts (which drop a few inches on a short stem), and larger pendant-style ceiling fixtures. All of them are visible; that visibility is part of their job.
Remodel vs. new-construction housings
Installation: what each project actually involves
Replacing an existing surface-mounted fixture with a new one is within reach for a homeowner comfortable with basic electrical safety: turn off the breaker, confirm power is off with a non-contact voltage tester, swap the fixture, reconnect wires by color, and restore power. No new wiring, no cutting drywall.
Adding recessed lights to a finished ceiling is a different scope of work. It typically involves cutting ceiling openings, running cable through the ceiling cavity to a power source, and connecting to the circuit. That work generally requires a licensed electrician, and in many jurisdictions it triggers a permit and inspection. Check your local building department before starting. Homes built before 1978 may have additional considerations around insulation and older wiring that a licensed electrician should assess.
If you have an unfinished basement below or an accessible attic above, running new wiring is considerably easier, though still a job for a qualified electrician in most cases.
How ceiling construction changes the decision
The single biggest constraint on recessed lighting is ceiling depth. A concrete slab or a plaster ceiling with no accessible cavity above it rules out standard recessed housings entirely. Shallow remodel housings help in tight drywall ceilings, but even those need some clearance.
Insulation also matters. Recessed fixtures installed near insulation must be rated IC-rated, meaning the housing is designed to be in direct contact with insulation without creating a fire hazard. Using a non-IC-rated housing in an insulated ceiling is a code violation in most areas and a genuine fire risk. The housing label will state its rating.
Surface-mounted fixtures sidestep both issues. They mount to any ceiling type that can accept a standard electrical box, including plaster, tile, or concrete with a surface-wired conduit system.
Light output and distribution
Neither type produces more light by nature. Output depends on the bulb or LED module inside the fixture and the number of fixtures in the room. A single recessed can pointed straight down creates a tight pool of light; a room with a well-spaced grid of cans produces fairly even general illumination. A single surface-mounted fixture with a diffusing shade can spread light across a ceiling and bounce it into the room, which sometimes covers a space more efficiently with fewer fixtures.
For task-heavy areas like kitchens, recessed cans placed directly above work surfaces work well. For living rooms or bedrooms, a surface mount combined with lamps at lower levels often produces a more comfortable result. The common dining room lighting errors article covers how fixture placement, not just fixture type, shapes the result in detail-oriented spaces.
When you need light precisely at counter level rather than from the ceiling at all, a separate approach is worth considering. Under-cabinet lighting fills that gap in kitchens without asking the ceiling to do everything.
Cost and long-term factors
Surface-mounted fixture replacement is generally the lower-cost project because it reuses existing wiring and boxes. The fixture itself varies widely in price depending on style and complexity, but the labor is minimal if you do it yourself.
Adding new recessed lighting to a finished room costs more because of the wiring labor and potential permit fees. The final number depends on ceiling accessibility, the number of fixtures, and local electrician rates. Getting two or three quotes from licensed electricians gives a realistic range for your specific conditions.
Recessed trims and bulbs are replaceable over time, which is useful if a trim style becomes dated or a bulb type is discontinued. Surface-mounted fixtures are replaced as a whole unit, but that also means a style refresh is straightforward when you want one.
This article is for informational purposes only. Electrical work should be performed by a licensed electrician. Always verify local permit and code requirements with your building department before starting any wiring project.
The content provided on our blog site traverses numerous categories, offering readers valuable and practical information. Readers can use the editorial team’s research and data to gain more insights into their topics of interest. However, they are requested not to treat the articles as conclusive. The website team cannot be held responsible for differences in data or inaccuracies found across other platforms. Please also note that the site might also miss out on various schemes and offers available that the readers may find more beneficial than the ones we cover.