

Under-Cabinet Lighting: Types, Placement, and What Actually Makes a Difference

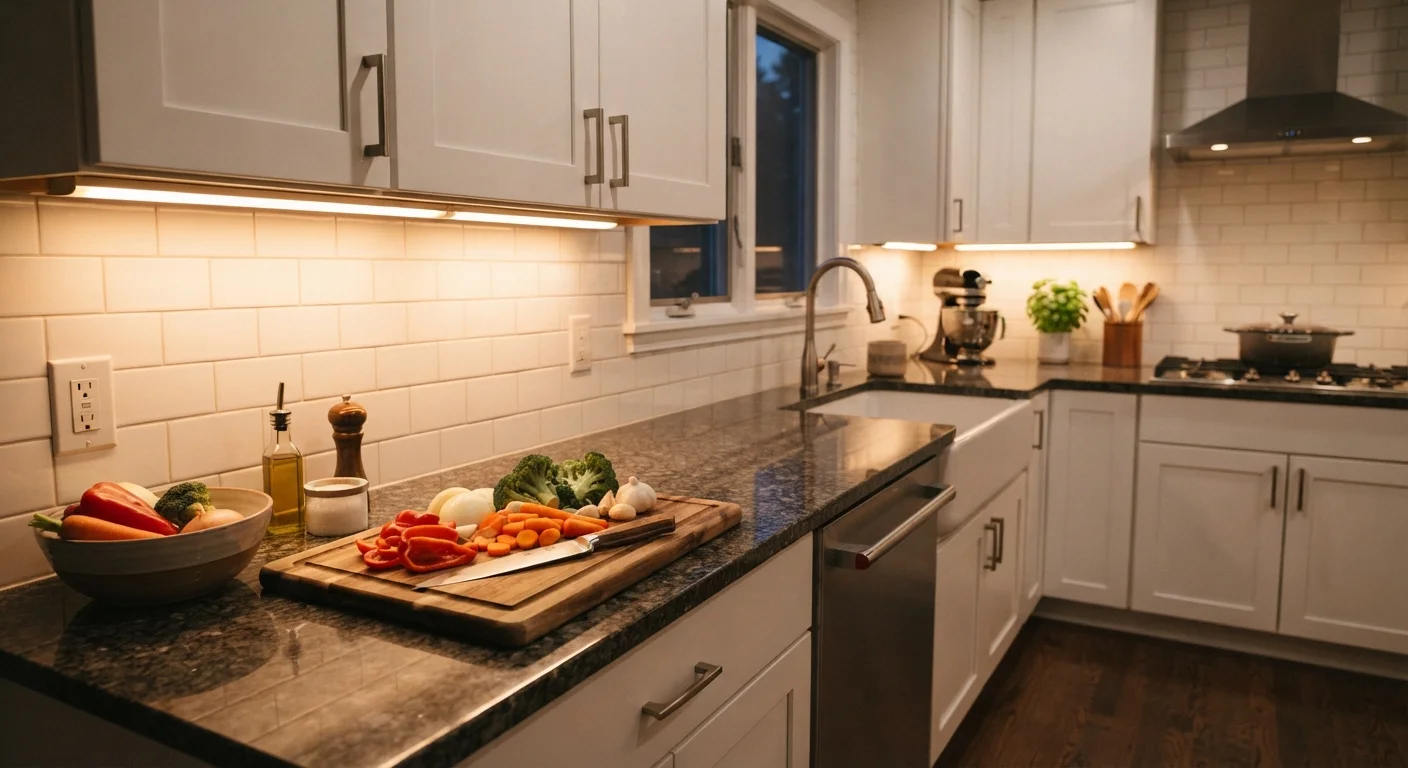
Photo: signaturehomeideas.com editorial
Key Takeaways
- Three main fixture types are available: puck lights, linear bars, and LED tape (strip) lights, each with different coverage and installation demands.
- Positioning lights toward the front edge of the cabinet minimizes shadows on the work surface.
- Plug-in options are accessible to most DIYers; hardwired installations typically require a licensed electrician.
- Color temperature (measured in Kelvin) affects whether the light feels clinical or warm, and it should match adjacent fixtures.
- LED strip lights need a compatible driver and, if dimmable, a dimmer switch rated for LED loads.
The three fixture types and their trade-offs
Puck lights are small, round fixtures spaced at intervals along the cabinet's underside. They install quickly and work well in shorter runs, but they produce pools of light with dimmer zones between each puck. For countertops wider than about 18 inches, uneven coverage can be noticeable during detailed prep work.
Linear bar lights (also called strip fixtures, though not to be confused with LED tape) run the full length of a cabinet section in one piece. They distribute light more evenly than pucks and are available in both plug-in and hardwired versions. Because one fixture covers the whole run, there are no coverage gaps.
LED tape lights are flexible adhesive strips carrying small LED chips at close intervals. They conform to irregular cabinet shapes and produce very even illumination across the entire surface. Tape lights require a separate driver (a small transformer that converts household voltage to low DC voltage) and, if you want dimming, a dimmer switch rated for the specific driver. Connecting drivers and routing low-voltage wiring is within reach for a careful DIYer, but running new line-voltage wiring to power the driver is electrical work that warrants a licensed electrician.
For a broader view of how under-cabinet lighting fits alongside ceiling-level sources, see the three-layer lighting approach.
Placement: where you mount the fixture matters more than wattage
The single most common placement mistake is mounting fixtures flush against the back wall of the cabinet underside. That position throws light toward the backsplash and leaves the front edge of the counter, where most cutting and prep happens, in shadow.
Mount fixtures at or slightly behind the front face frame of the cabinet. For cabinets with a valance or lip along the bottom front edge, tuck the fixture just inside that lip so it stays hidden from seated sightlines while still directing light downward and forward.
Hide the fixture, not the light
Countertop depth also matters. Standard US counters run about 25 inches deep. A single row of fixtures positioned toward the front edge covers that depth adequately. For unusually deep counters or islands with overhead cabinets, two rows may be needed.
If your kitchen currently relies on a single overhead fixture, under-cabinet lighting addresses the shadow problem that overhead-only setups create. Common lighting myths covers why more ceiling light does not automatically solve countertop shadow.
Color temperature and output: what the numbers mean
Color temperature, measured in Kelvin (K), describes the tone of the light. Lower numbers (2700K to 3000K) produce a warm, slightly amber white. Higher numbers (3500K to 4500K) produce a cooler, crisper white closer to daylight. For kitchen task work, most people find 3000K to 4000K gives enough clarity without looking clinical.
Consistency with nearby fixtures matters too. If your ceiling pendants or recessed cans are 3000K and your under-cabinet lights are 5000K, the countertop will look noticeably different in color from the rest of the room. Match Kelvin ratings where possible, or stay within a 500K range.
Lumens measure total light output. For under-cabinet task lighting, a general starting point is 150 to 250 lumens per linear foot of counter. This is a rough guide, not a guarantee of any particular result, since cabinet height and countertop surface reflectivity both affect actual performance.
3000K-4000K
Recommended color temperature range for kitchen task lighting
This range balances warmth and clarity for countertop work; exact preference varies by adjacent fixture color temperatures.
150-250 lm/ft
Approximate lumens per linear foot for task lighting
A rough planning guide; actual results depend on cabinet height, counter reflectivity, and fixture efficiency.
Installation considerations and when to call a professional
Plug-in puck lights and tape light kits that terminate in a standard plug are the most accessible option for DIYers. The work involves cleaning the mounting surface, adhering or screwing the fixture in place, and routing the cord to an outlet, typically inside the cabinet and out through a small hole at the back.
Hardwired installations hide all wiring inside the cabinet and wall, with no visible cord. That cleaner look comes at the cost of complexity. Running new wiring, connecting to a junction box, or adding a dedicated circuit involves line-voltage electrical work. In most US jurisdictions, this type of work requires a permit and must be done by or inspected by a licensed electrician. Check with your local building department before starting.
If you are also reconsidering your ceiling fixtures during this project, recessed versus surface-mounted ceiling fixtures walks through the trade-offs at that level of the kitchen.
This article is for informational purposes only. Electrical work involving line voltage can present serious safety hazards. Always verify local permit requirements and consult a licensed electrician for hardwired installations.
Frequently Asked Questions
The content provided on our blog site traverses numerous categories, offering readers valuable and practical information. Readers can use the editorial team’s research and data to gain more insights into their topics of interest. However, they are requested not to treat the articles as conclusive. The website team cannot be held responsible for differences in data or inaccuracies found across other platforms. Please also note that the site might also miss out on various schemes and offers available that the readers may find more beneficial than the ones we cover.