

Under-Cabinet Kitchen Lighting: Options, Placement, and Installation Basics

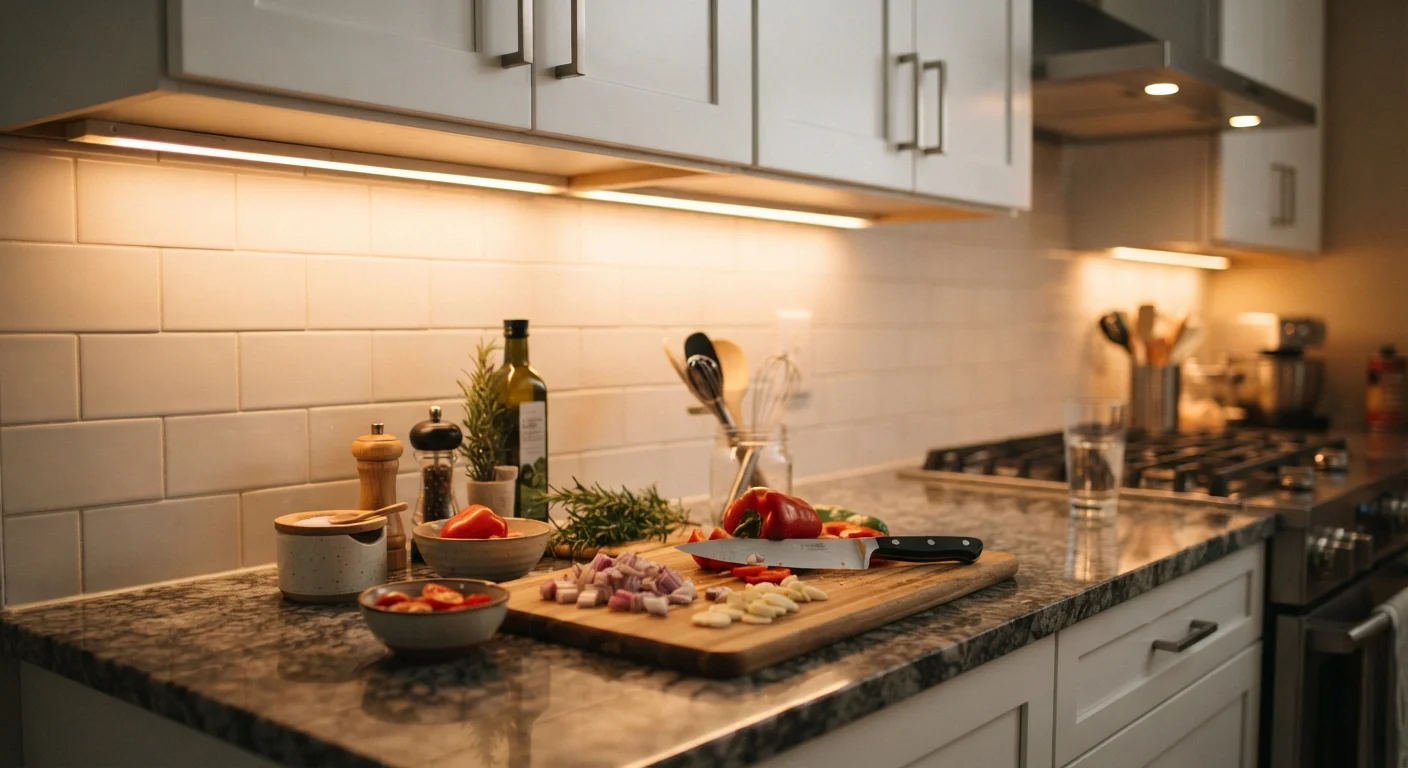
Photo: signaturehomeideas.com editorial
Key Takeaways
- Plug-in LED strip lights and puck lights require no electrical work and suit most renters or beginners.
- Hardwired fixtures give a cleaner look but require a licensed electrician in most jurisdictions.
- Positioning lights toward the cabinet's front edge reduces glare and shadow on the countertop.
- Color temperature matters: 2700K to 3000K reads as warm white; 4000K reads as cool and crisp.
- Under-cabinet lighting counts as task lighting, which works with ambient and accent layers in a full lighting plan.
Why under-cabinet lighting matters for kitchen work
Overhead fixtures and recessed ceiling lights cast light downward but are blocked by your body and the cabinet boxes the moment you stand at the counter. The result is a shadow directly on the cutting board or stove area where you need to see clearly. Under-cabinet lights sit below that obstruction and aim light at the work surface itself.
This type of lighting falls in the task layer of a full lighting plan. If you want to understand how task, ambient, and accent layers interact, the three-layer lighting guide covers the concept in detail. For the kitchen, the task layer is often the most practical starting point because the benefit is immediate and measurable.
Color temperature also affects how comfortable the space feels. Bulbs rated at 2700K to 3000K produce a warm white light that reads as inviting. A 4000K bulb produces a cooler, crisper light that some cooks prefer for food prep. Neither is objectively correct; the right choice depends on the rest of the kitchen's lighting and your own preference.
The main fixture types
Three formats cover most residential under-cabinet installations.
LED strip lights (tape lights)
These are flexible circuit boards with LEDs spaced along an adhesive-backed ribbon. They follow the full length of a cabinet run and produce even, continuous light. Most come with a plug-in transformer, so installation requires only a nearby outlet and a clean, dry surface for adhesion. Strips are low-profile and largely invisible once mounted.
Puck lights
Puck lights are small disc-shaped fixtures spaced at intervals along the cabinet underside. They are simpler to install than strips and easier to replace individually, but they can produce scalloped pools of light rather than an even wash. Spacing them closer together (roughly every 8 to 10 inches) reduces the scalloping.
Hardwired bar or linear fixtures
These thin rectangular housings mount flush to the cabinet underside and connect directly to the home's wiring, usually through a switched circuit. They offer the cleanest finished look because there are no visible cords or transformers. The trade-off is that installation requires an electrician and, in most jurisdictions, a permit. See the under-cabinet lighting types overview for a broader comparison of these formats.
Hardwired work requires a licensed electrician
Placement basics
Where you mount the fixture on the cabinet underside changes the result significantly.
Position the fixture toward the front edge of the cabinet, not the back wall. Mounting near the back throws light forward but also sends glare directly at eye level when you stand at the counter. Mounting near the front edge directs light down onto the countertop and keeps the light source out of your line of sight.
For LED strips, run the full length of the cabinet when possible. Starting and stopping in the middle of a run creates bright and dim zones that are more noticeable than having no light at all. If a corner cabinet interrupts the run, use a strip connector or cut the strip at a marked cut point (check the manufacturer's guidance) and begin a new segment.
Measure the cabinet underside before ordering any fixture. Note the depth (front to back) as well as the width. A strip or bar that is too deep can be visible below the cabinet door and disrupt the look.
Test color temperature before committing
Installation steps for plug-in LED strips
The steps below apply to plug-in adhesive LED strip systems. For puck lights with screw mounts, the process is similar but substitutes drilling pilot holes for the adhesion step. Hardwired fixture installation must be handled by a licensed electrician.
What you will need
Measure and plan the run
Measure the underside of each cabinet section you want to light. Write down the width of each section and the total linear footage. Check where the nearest outlet inside or above the cabinet is located. Confirm the outlet is accessible so the transformer cord can reach without crossing open countertop space.
Clean the mounting surface
Wipe the cabinet underside with a dry cloth to remove grease, dust, and moisture. Adhesive backing bonds poorly to oily or damp wood. For painted or finished cabinet undersides, a quick pass with isopropyl alcohol on a cloth and a few minutes of drying time improves adhesion.
Mark the fixture position
Using your tape measure and pencil, mark a line along the cabinet underside at the position you chose during planning, typically 1 to 2 inches back from the front edge. This line guides placement so the strip runs straight and parallel to the cabinet face.
Peel and press the strip
Starting at the end closest to the outlet, peel a few inches of backing and press the strip firmly along your marked line. Continue peeling and pressing in short sections rather than pulling all the backing off at once. Apply firm pressure for 10 to 15 seconds along the full length to seat the adhesive.
Connect and route the power cord
Plug the transformer into the outlet. Route the cord along the interior of the cabinet using cable clips to keep it against the wall or top surface. The goal is to keep the cord hidden from anyone standing at the counter and away from heat sources.
Test and adjust
Turn the lights on and stand at a normal working position at the counter. Check for visible glare by looking at the counter surface, then looking forward at the backsplash. If the light source is directly in your line of sight, the strip is too far back. Reposition it closer to the front edge. Also check that no hot spots or dark gaps exist across the counter run.
Check outlet placement before buying
This article provides general educational guidance only. Electrical work involves serious safety risks. Always verify local code requirements and consult a licensed electrician before undertaking any wired installation.
The content provided on our blog site traverses numerous categories, offering readers valuable and practical information. Readers can use the editorial team’s research and data to gain more insights into their topics of interest. However, they are requested not to treat the articles as conclusive. The website team cannot be held responsible for differences in data or inaccuracies found across other platforms. Please also note that the site might also miss out on various schemes and offers available that the readers may find more beneficial than the ones we cover.